Sharing Your Work: Export and Import
The exported JSON file you will meet in this chapter is more than a sharing convenience — it is exactly what the command-line runners in Chapter 12 consume, which makes exporting the bridge between Postman-the-app and Postman-in-your-pipeline.
Share a Collection from Postman
Step 1 — Click on the […] button beside your collection.
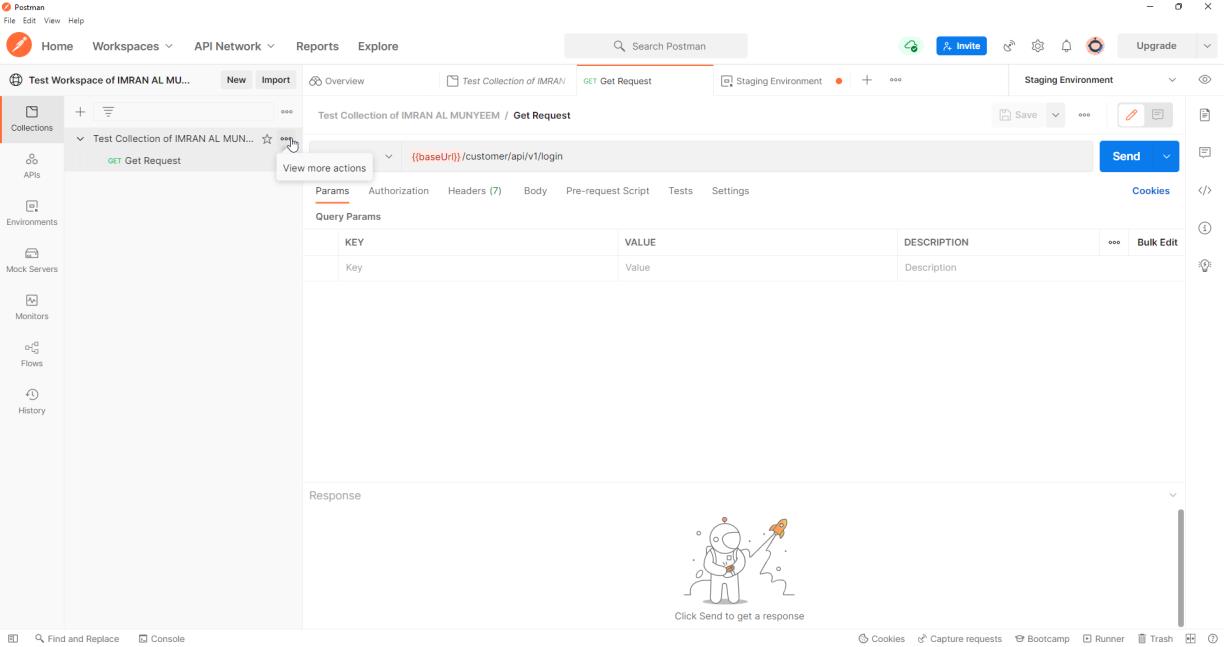
Step 2 — Click on Share collection.
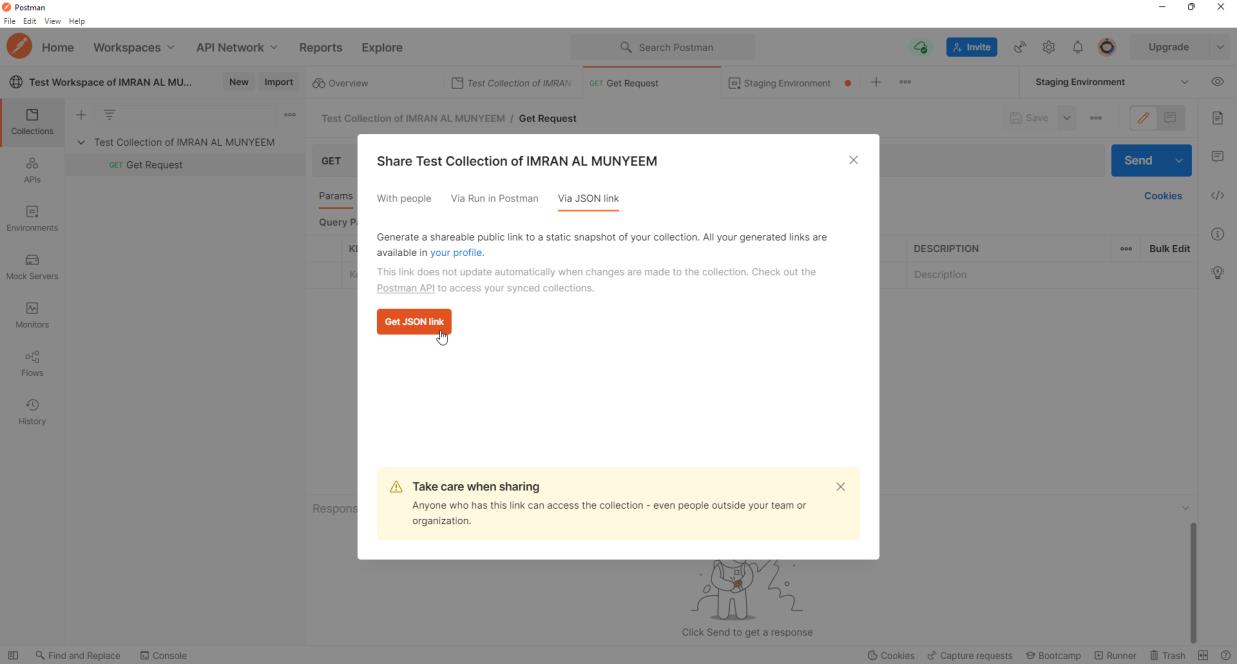
Step 3 — Choose how to share it — with specific people, via Run in Postman, or via a JSON link.
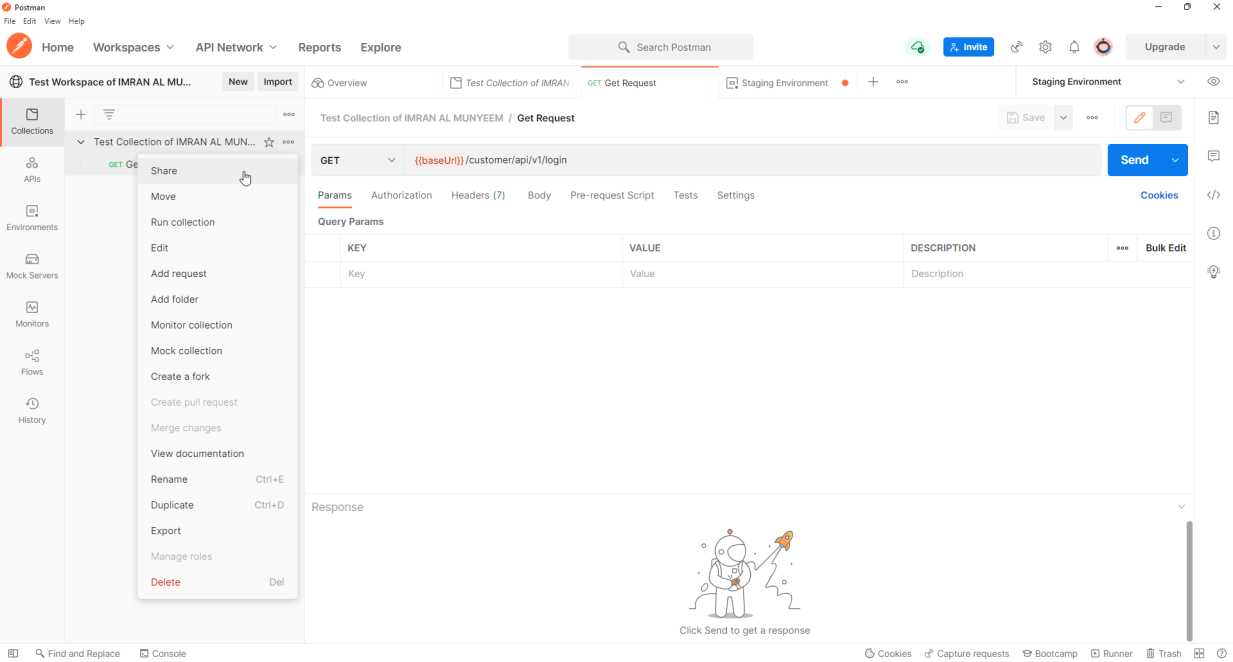
Step 4 — Anyone with access can import or fork the collection.
Best practice: with teammates, skip links entirely — move the collection into a shared team workspace. Everyone then works on the live collection with version history, forking, and pull-request-style merges, instead of emailing snapshots that immediately go stale. A JSON link is a static snapshot, and anyone holding it can read the collection — never link a collection containing credentials.
Export a Collection as a File
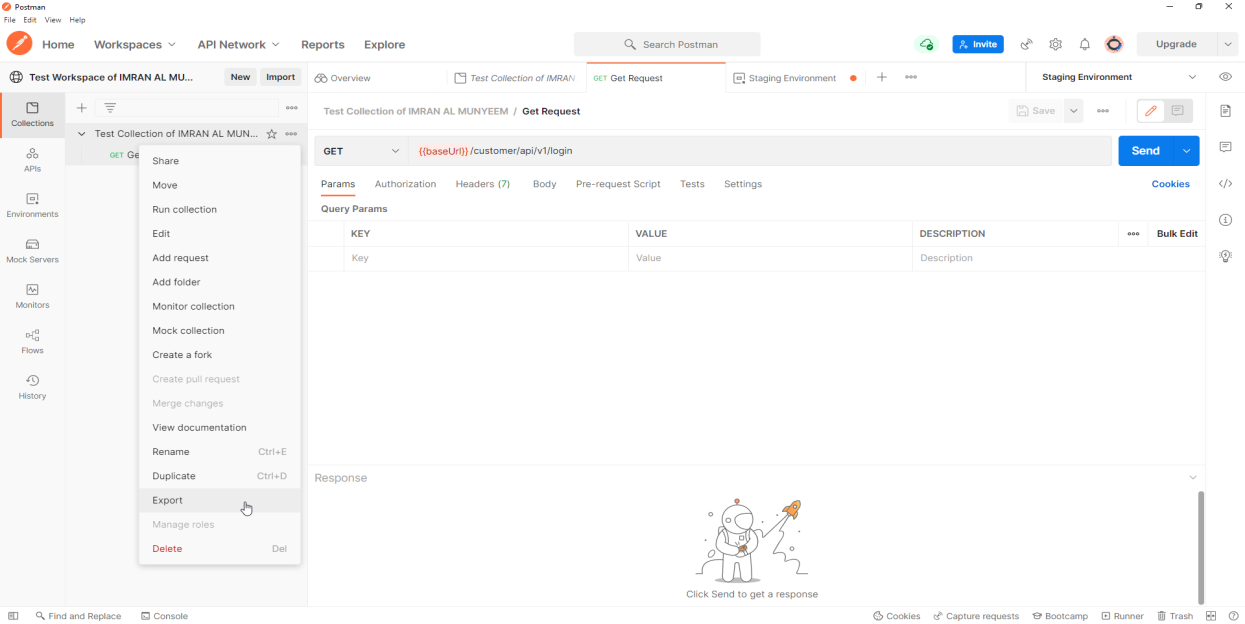
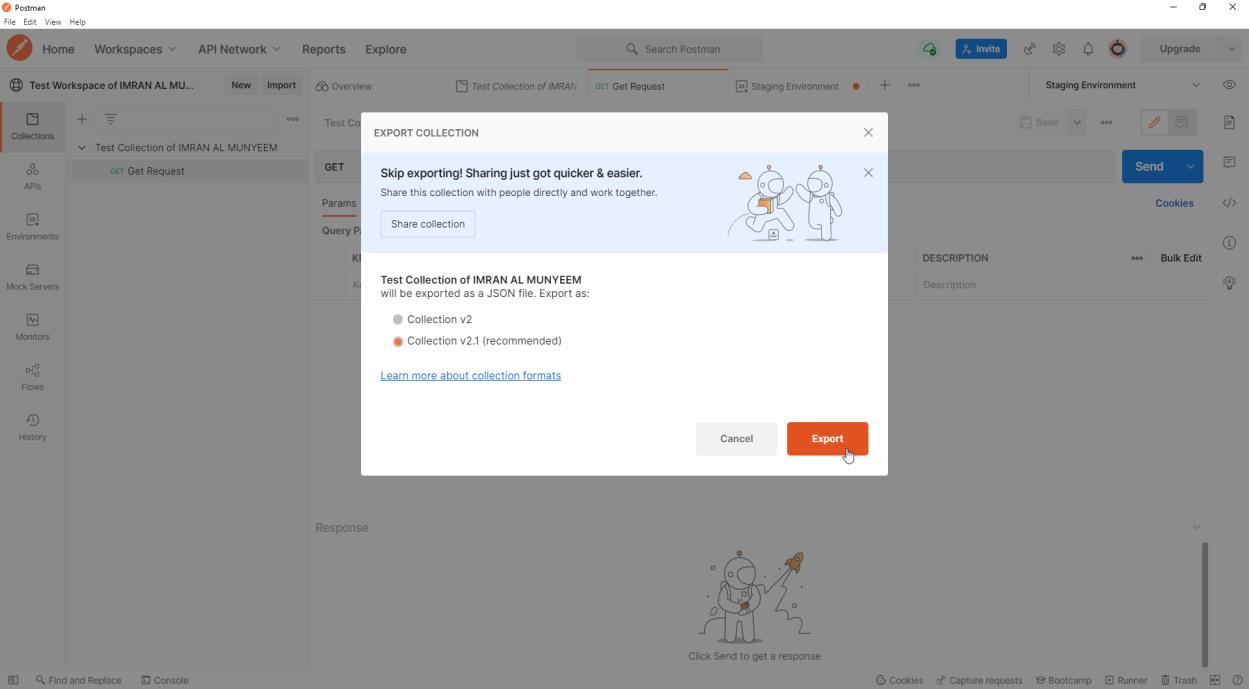
Step 1 — Click on the […] button beside your collection, as before.
Step 2 — Click on the Export button, choose Collection v2.1 (recommended), and save the file to your local disk.
A modern note: Postman v12 introduced a newer collection v3 (YAML) format used by its Native Git workflows. Newman, the classic command-line runner, does not support v3 — only the Postman CLI does. For maximum compatibility with existing tooling, v2.1 JSON remains the safe default export today.
Best practice — version the suite: commit the exported collection (and sanitised environments) to the same Git repository as the code it tests, under a collections/ folder. Tests then ride through code review, branch with features, and are available to every CI agent — the pattern Chapter 13 builds on.
Export an Environment
In the same way, export the environment and save it alongside the collection.
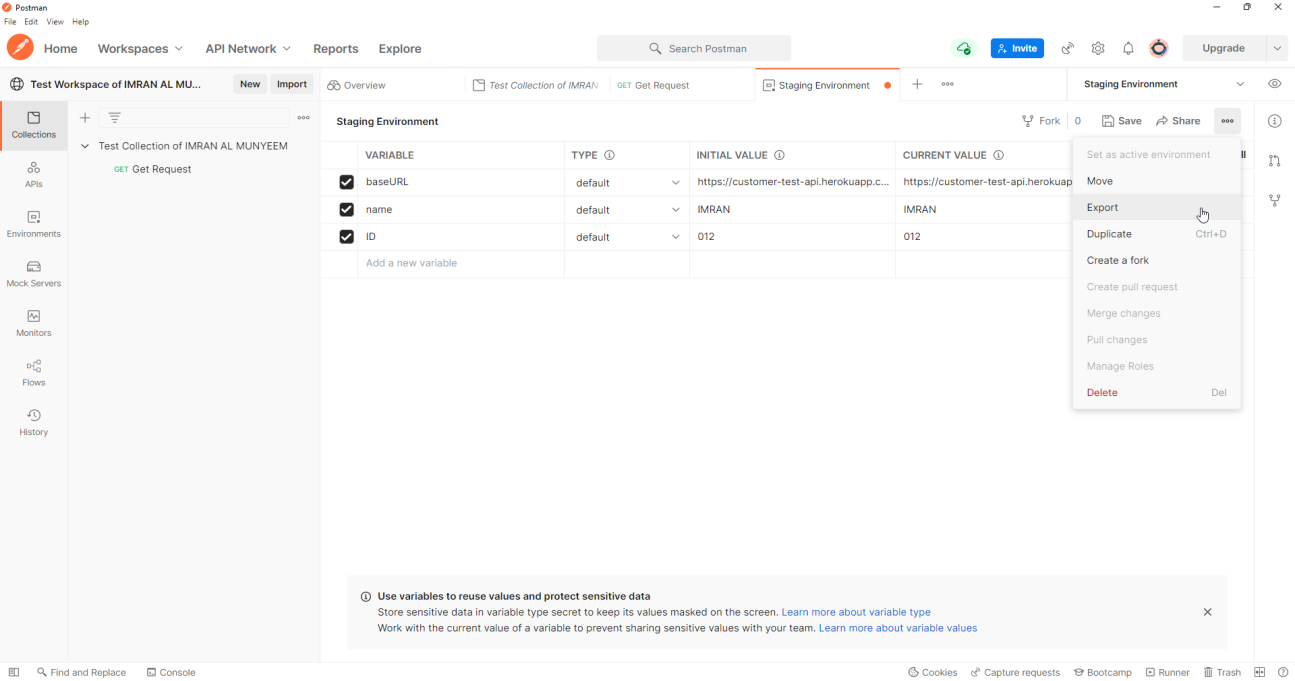
Security note: an exported environment file contains its variable values in plain text. Before committing one to Git, strip tokens and passwords — or keep secrets in current values only (which are never exported) and inject real credentials in CI from the pipeline's secret store.
Import a Collection
Step 1 — Go to the Collections tab.
Step 2 — Click on the Import button.
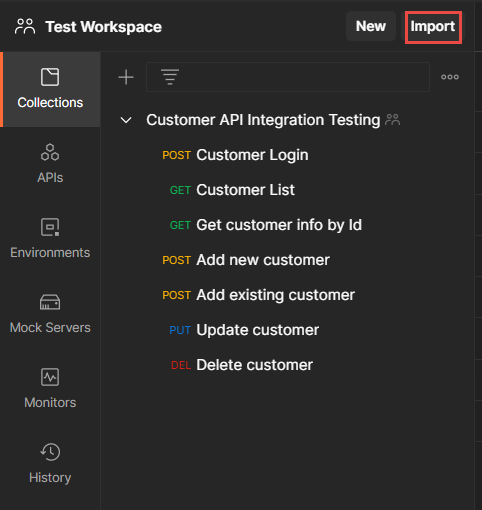
You can import from files, folders, links, or raw text — and not only Postman's own format: Postman imports OpenAPI/Swagger definitions (generating a full collection from the spec, a superb starting point for contract tests) and cURL commands copied from browser dev tools or documentation.
Import an Environment
Step 1 — Go to the Environments tab.
Step 2 — Click on the Import button.
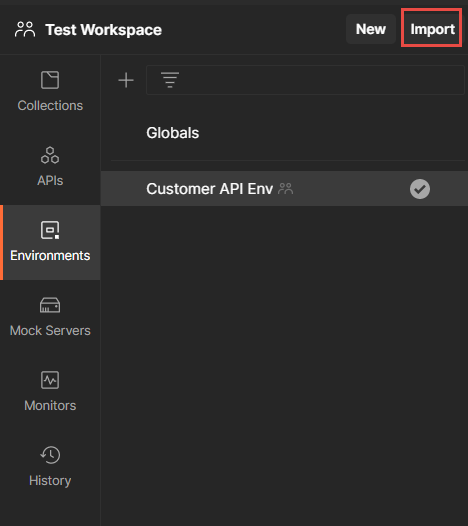
Step 3 — Locate the environment file you exported earlier. The importer can now run every request in the collection.